Installation Guides:
Villa Pergola
Minor Modifications

VP1.0 Height Adjustment
Measure the correct height of each post. Use a saw that is meant for aluminum alloy to cut to the exact height. Sanding if necessary. Drill new holes for footing plate connection. Cut new drainage location at the bottom of the post. Place the footing cover if needed. (recommend to put silicone around the connection between footing plate and the post)

Projection/Length Adjustment
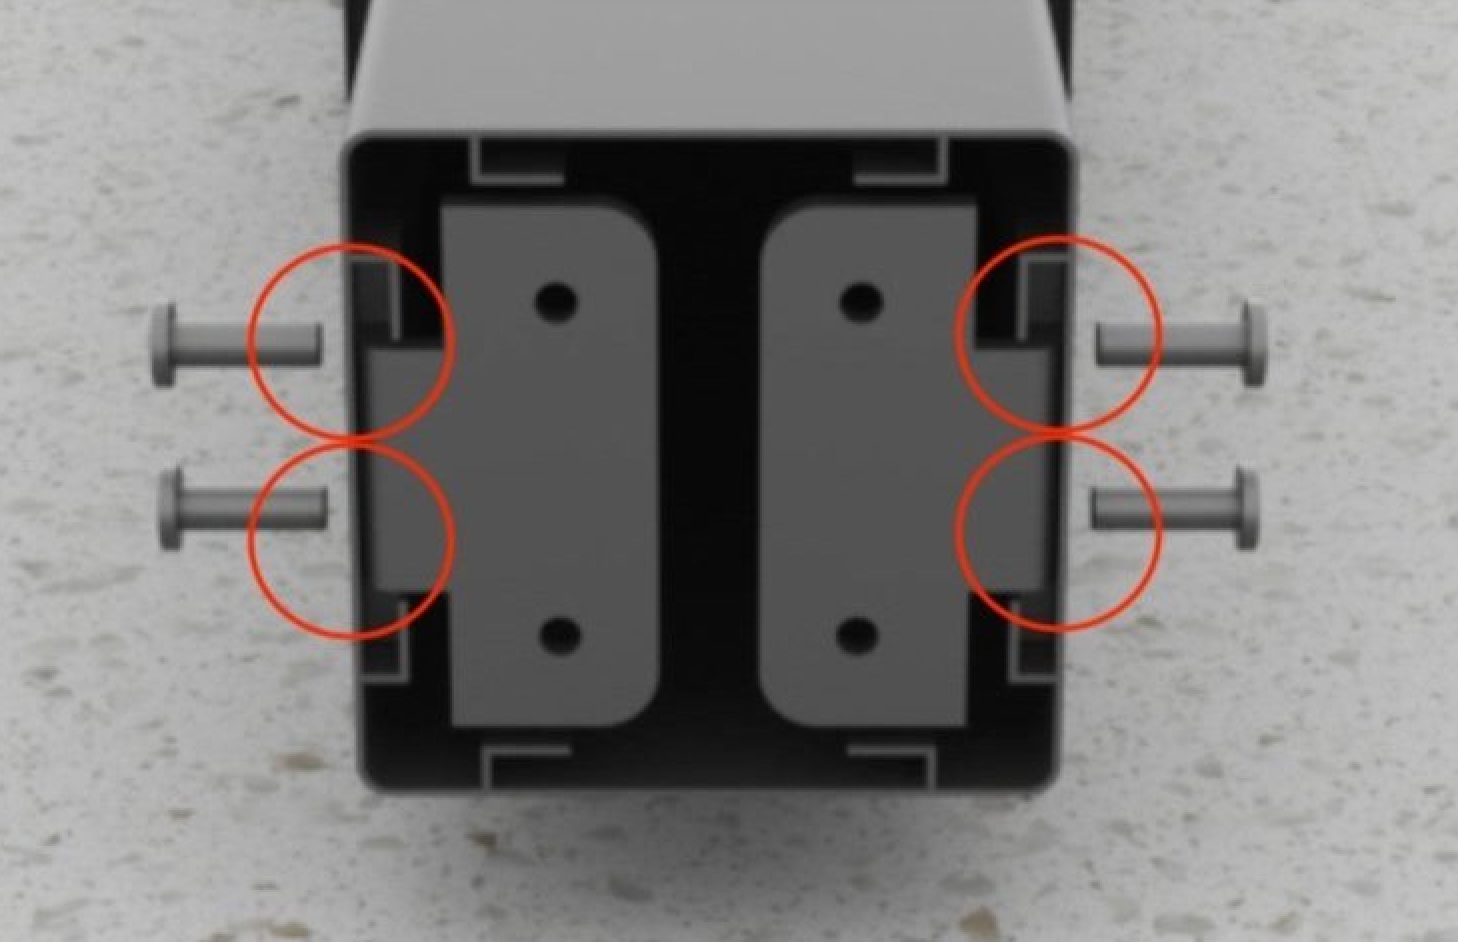
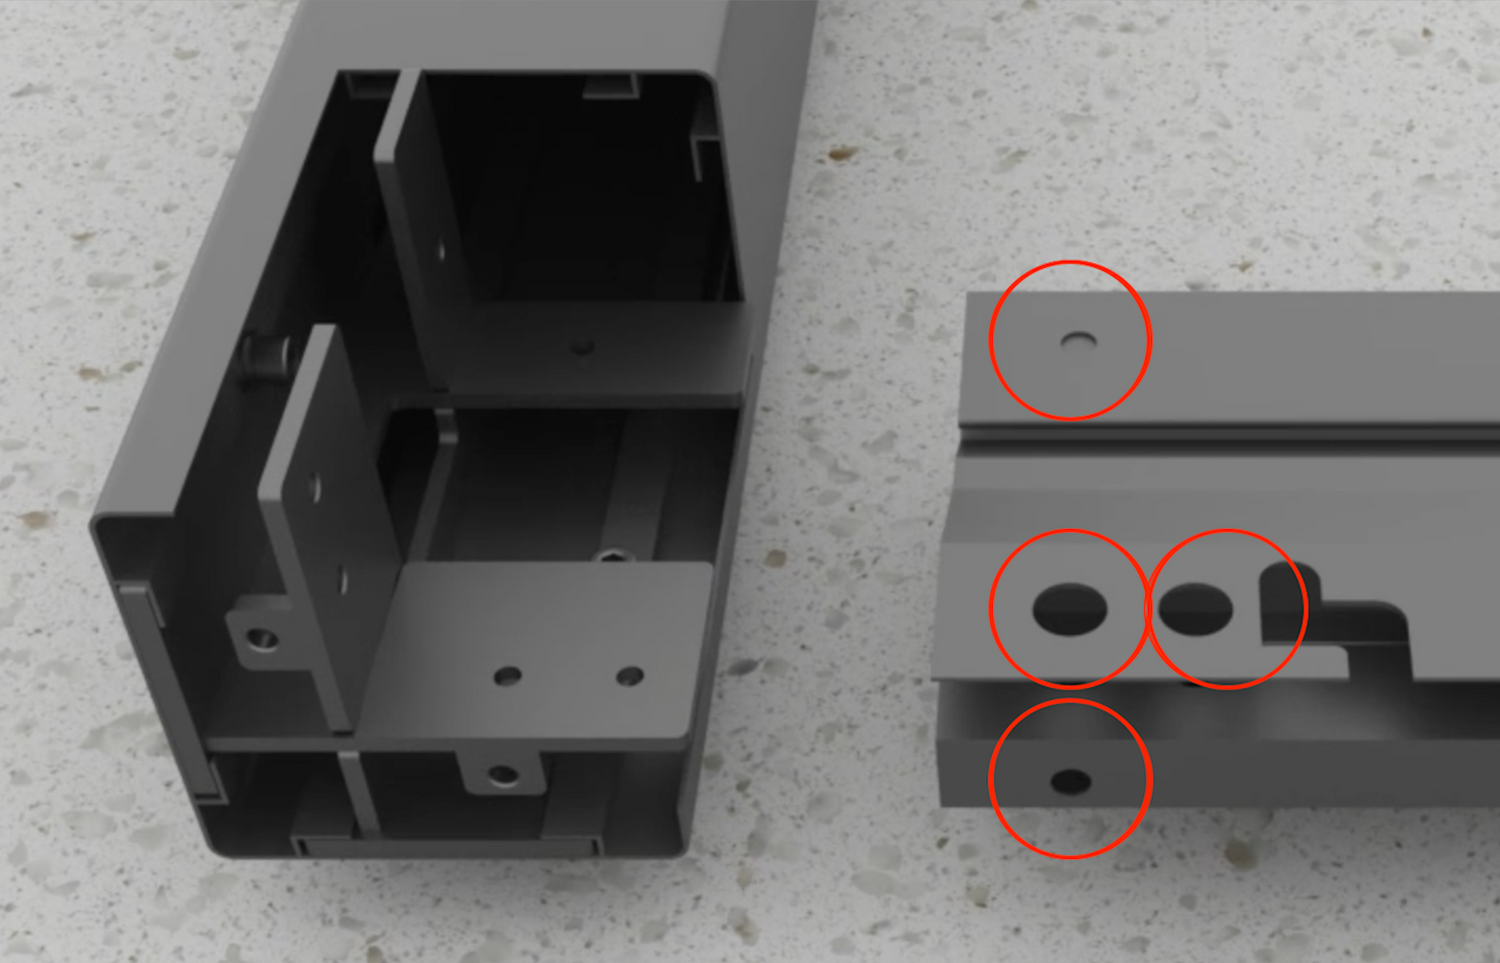
You can size down on the projection/length by cutting the LOUVER BEAM (where the louvers are on). This has to be measured and calculated precisely before doing so. The distance between each louver is 12cm. After you cut the beam, cut the gutter in the exact distance as the beam. Then drill the holes the same as the beam to post connection. Sanding if necessary.
Example: If you are planning to make reduction of 1 feet on the length = 30.48cm. You can go to closest of either 24 or 36cm. So simply have it cut under CM or have CM divide 2.54 to get each inch. (Never round up, but round down by 1/8 inch gap. Round up the cut down number will make insufficient space to fit the last louver)

How do i have two pergolas butt up against each other?
For the top gap, you will need to get some non rust cover like aluminum flushing to cover the gap in between the pergola on the top.
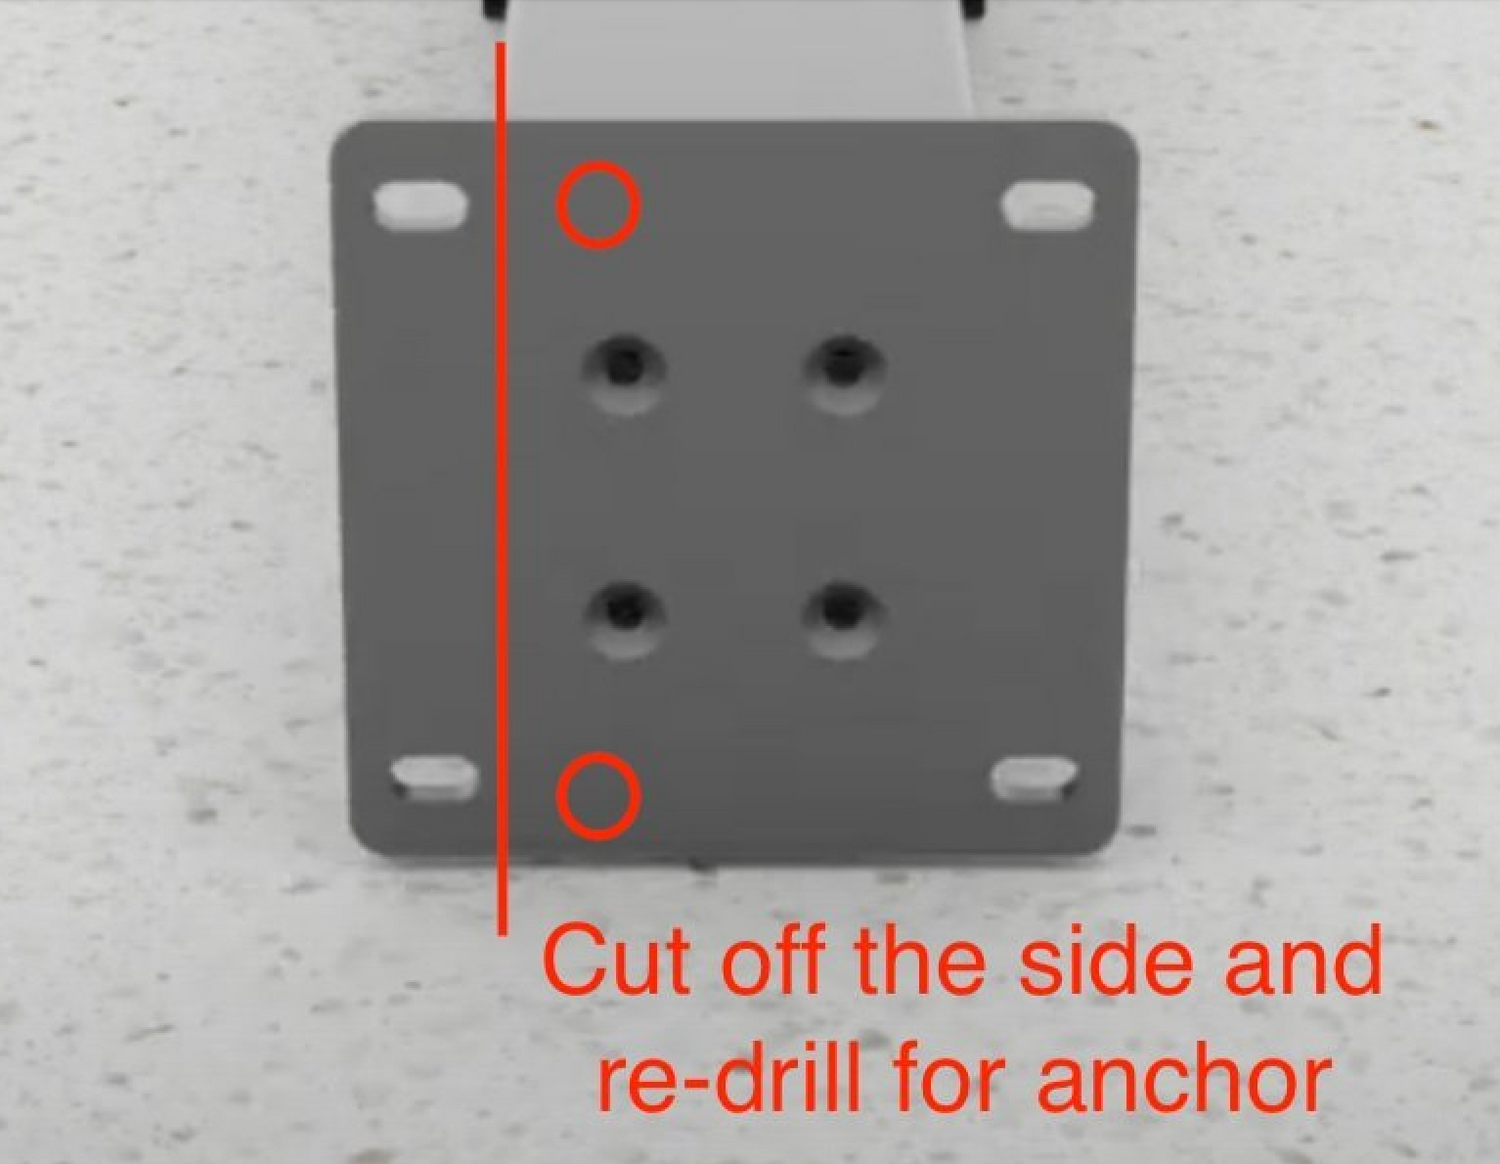
For the post to be flush together, you will need to modify the base plate like the picture. Please make sure you paint the cut section to avoid any rust.
Accessories
-
Fan Beam - Villa Pergola 2.0
See installation guide -
Rain Sensor - Villa Pergola
See installation guide -
Motorized Wind/Sun Resistant Screen - Villa Pergola
See installation guide -
Premium Sliding Shutter - Villa Pergola
See installation guide -
Manual Wind/Sun Resistant Screen - Villa Pergola
See installation guide -
BON 1500W Smart Heater
See installation guide -
Premium Slat Aluminum Fencing - Villa Pergola
See installation guide -
Bond Bridge Smart System
See installation guide -
Premium Sliding Glass Doors - Villa Pergola
See installation guide
